

Petal Wheel Coaster
- Sep 4, 2025
- 4 min read
The “Petal Wheel Coaster” crochet pattern is also available as a premium PDF download on Ravelry.
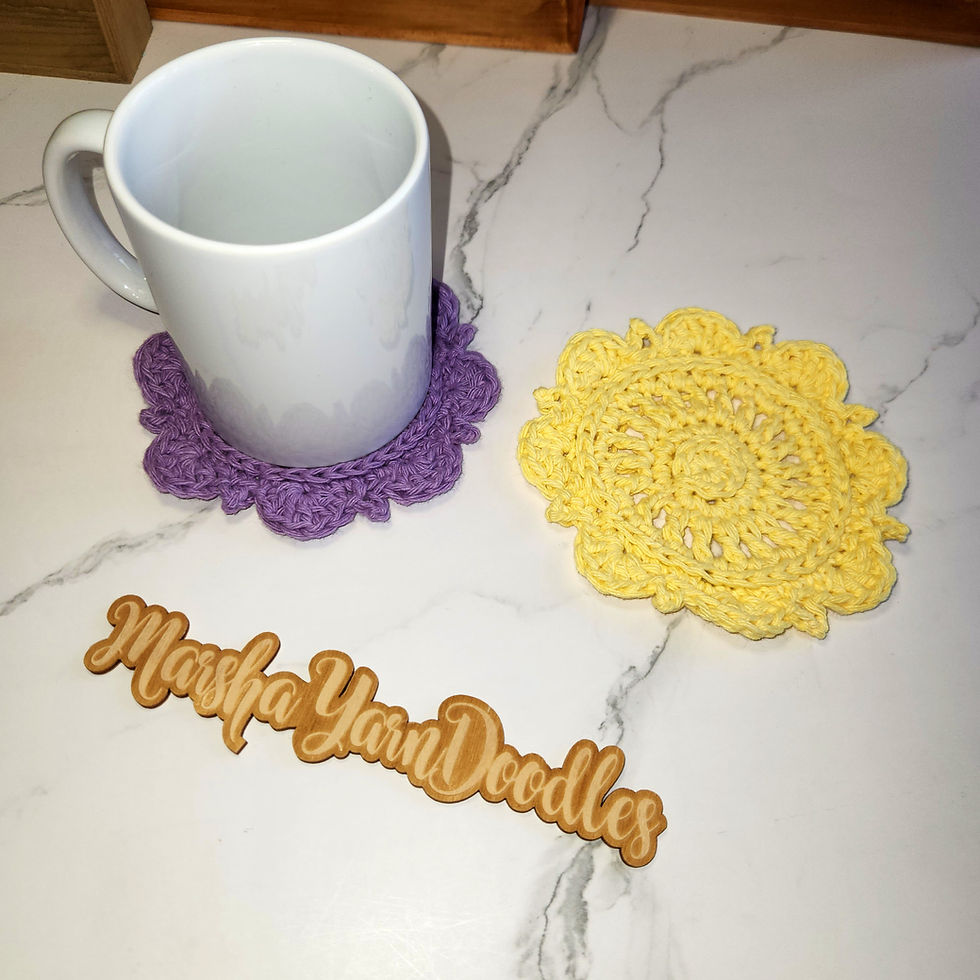
Put blooms on your table with the Petal Wheel Coaster—a quick, easy crochet project that adds endless homemade charm—sure to become your new favorite table accent!

They bring a pop of color & fun to your home all year long. From spring blooms to winter cheer—the Petal Wheel Coaster fits every season. These coasters are as practical as they are pretty, protecting your surfaces with a touch of handmade beauty to your home décor all year long.

Fun to make in any color, they’re perfect for housewarming or hostess gifts, market table favorites, or simply a cheerful addition to your own collection. Whip up a set for every season and enjoy the beauty of handmade all year round!
Materials
➤Yarn: 100% Cotton (or other natural fiber)
➤Yardage: 25 - 40 yds
➤Hook: 5.0mm & 5.5mm
Stitches & Abbreviations
US Terminology
➤ * * = Repeat stitch pattern between * *
➤ Ch# = Chain number of times specified
➤ St/Sts = Stitch/Stitches
➤ SS = Slip Stitch
➤ SK# = Skip number of sts specified
➤ SC = Single Crochet ➤ HDC = Half Double Crochet
➤ DC = Double Crochet
➤ TLO = Third Loop Only of HDC (3rd loop is sometimes referred to as ‘back bump’ or ‘back bar’) Moogly TLO Video Tutorial ➤ PICOT = Ch3, SS in back bump of 3rd ch from hook (1st chain made) ➤ SHELL = 5 DC in same st
Notes & Special Instructions
➤ Chains at beginning of a round/row NEVER count as a stitch.
➤ I tend to crochet TIGHT, so you may need to adjust your hook size to accommodate. ➤ I suggest using the invisible join for a seamless look when finishing off.
Heart Hook Home video tutorial ➤ When the pattern says “Pull yarn loop at join to back of work”: Remove hook from yarn, at join insert hook from back to front, grab yarn loop & pull through stitch. This will help give it a more finished look. If you do not like the look of this, just continue as normal.
➤ First DC Options: In this pattern, the 1st DC st in rows/rounds will always be noted as a regular DC. There will be NO Chain instructions on rows/rounds beginning with a DC. Use your preferred method for 1st DC stitch of these rows.
1 - Chainless Starting DC: This is the technique I prefer to use. I also use this technique for 1st FPDC/BPDC of rows/rounds. Moogly Video Tutorial for Chainless Beginning DC stitch
2 - Stacked SC: Stacking 2 SC will result in a similar look to a DC st without added bulk of a Ch2. Brianna K Video Tutorial for Stacked SC
3 - Ch3: Use this as 1st DC of row/round.
4 - Ch2: This will get your sts to height of a DC & then place a regular DC in 1st st of row.


PETAL WHEEL COASTER PATTERN
NOTES: | Use 5.5 mm hook for this section. RIGHT/FRONT side faces you at all times. At end of each round: SS to join & do NOT turn. On TLO-SC rnds (Rnds 2 & 5), work into TLO of HDC from previous round. The 3rd loop will be on backside of work At beginning of rnd, pull yarn loop at join to back of work for cleaner look. REMINDER: Use your preferred method for 1st DC stitch of these rows. |
Start | Magic Circle OR Ch5 & SS to join circle OR Ch2 & work Rnd 1 into 1st Ch made |
Rnd 1: | Ch1, 10 HDC in the circle. (10) |
Rnd 2: | NOTE: This entire round will be worked in TLO of HDC in previous round. Ch1, 2 TLO-SC in 1st and each st around. (20) |
Rnd 3: | [1 DC, Ch1] in 1st and each st around. (40) |
Rnd 4: | NOTE: I worked around ch1 space (NOT INTO Ch1 st). Ch1, 1 HDC in 1st and each st & ch1 sp around. (40) |
Rnd 5: | NOTE: This entire round will be worked in TLO of HDC in previous round. Ch1, 2 TLO-SC in 1st st, 1 TLO-SC in each of next 4 sts. 2 TLO-SC in next st, 1 TLO-SC in each of next 4 sts. Repeat around. (48) |
Rnd 6: (Border) | NOTE: You may want to go down a hook size to reduce wavy edge. Sk 1st (join) & 2nd sts, SHELL in next st, SK1, SS in next st, PICOT, SK1. SS in next st, SK1, SHELL in next st, SK1, SS in next st, PICOT, SK1. Repeat around. (8 SHELLS & 8 PICOTS) Use invisible join to 1st (join) st. Fasten off & weave in ends. |


Comments