

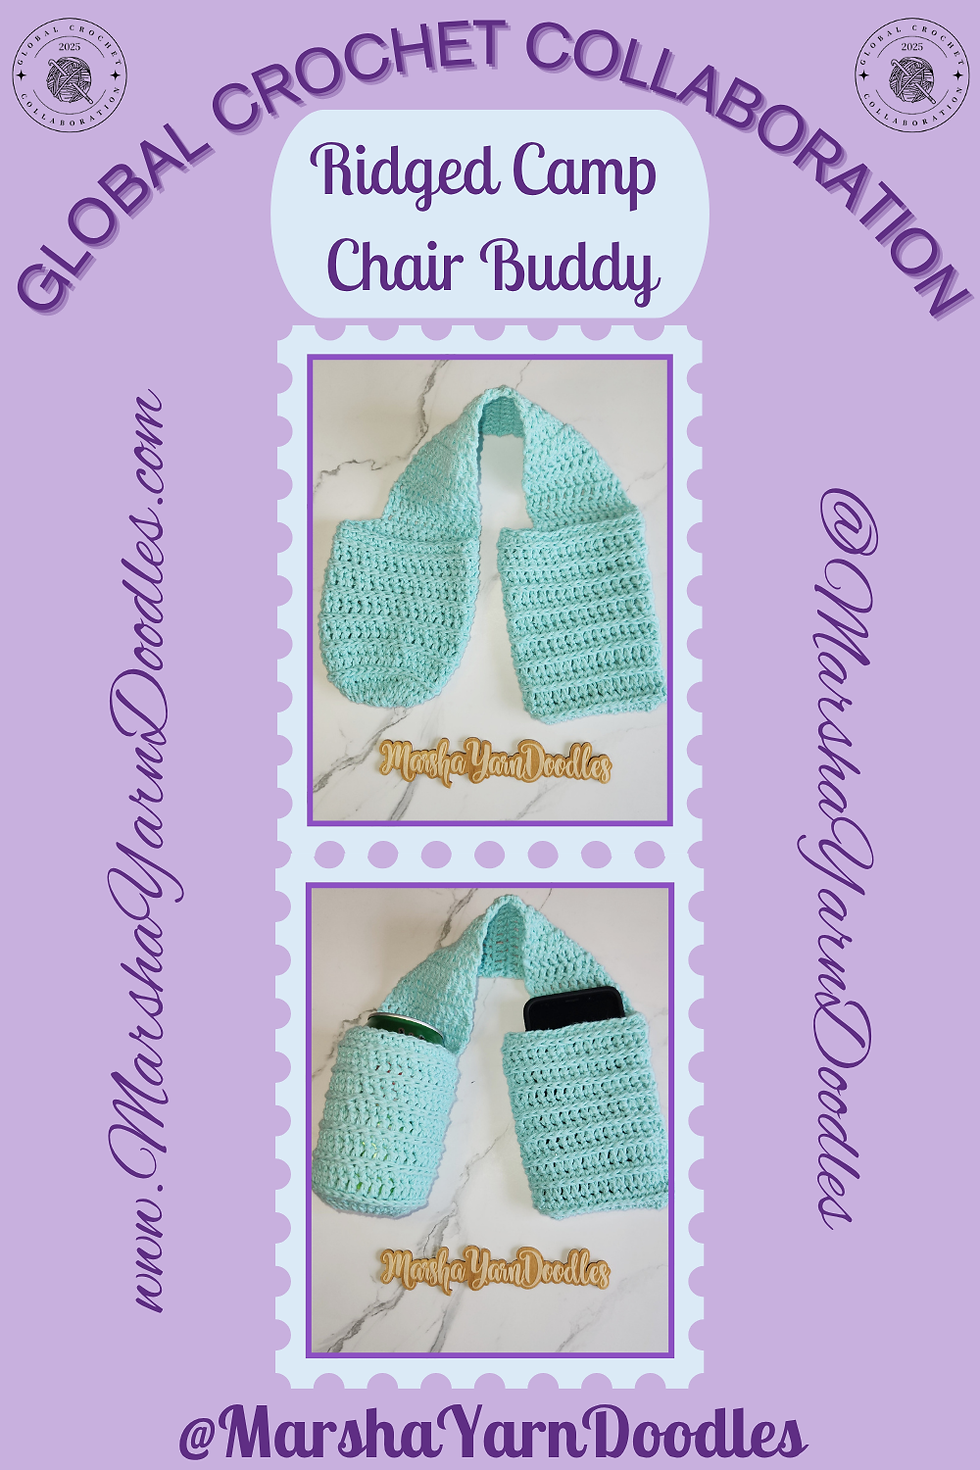
Ridged Camp Chair Buddy
- Jul 10, 2025
- 7 min read
The “Ridged Camp Chair” crochet pattern is also available as a premium PDF download on Ravelry.
There’s something special about sitting in a circle with friends—chatting, laughing, and crocheting the day away. Whether you’re enjoying a toasty campfire with friends & family or cheering on your favorite team from the sidelines, one thing’s for sure … the more pockets, the better!
The Ridged Camp Chair Buddy is the perfect solution for adding convenient storage to chairs that don’t come with built-in pockets. Designed to hold your phone & drink ... or for us crocheters our yarn & hooks ... this handy organizer is both practical and stylish.
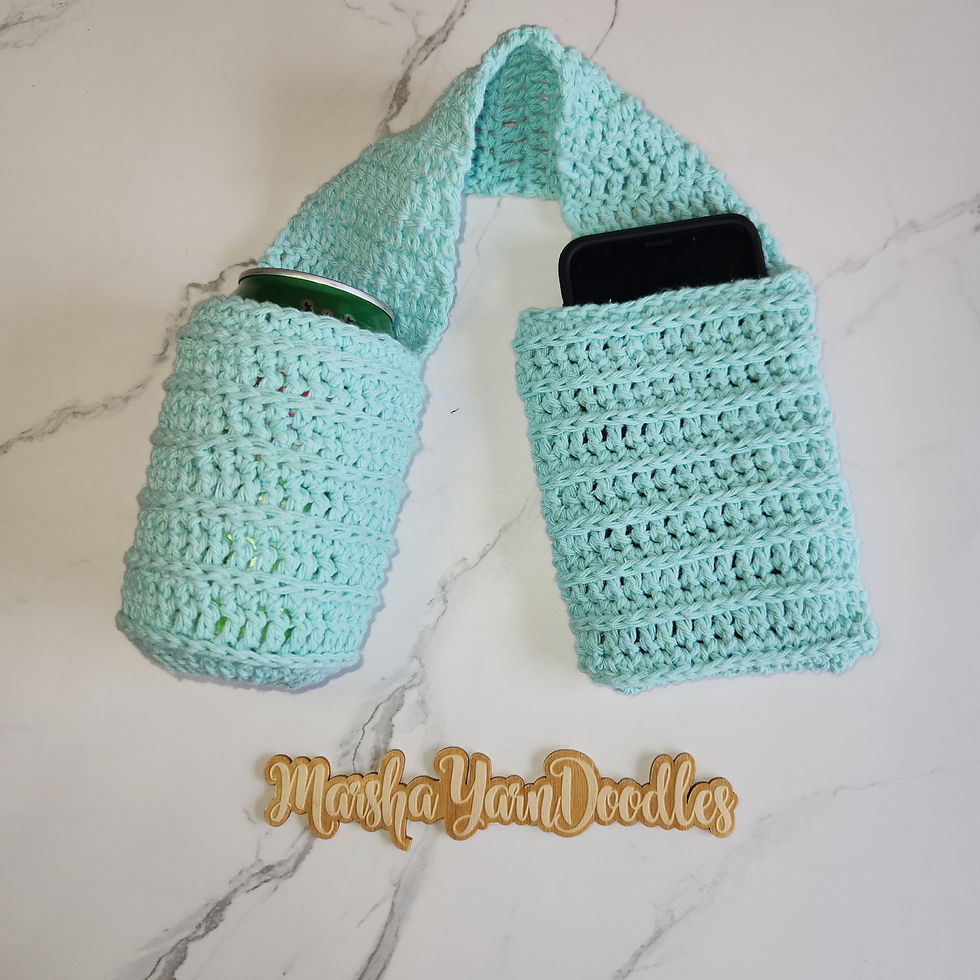
It’s quick and easy to make, and fits a wide variety of chairs—including beach chairs, patio chairs, camp chairs, and even wheelchairs and walkers. Whether you're crafting outdoors, cheering from the sidelines, this chair buddy helps keep all your essentials within reach.
If you love relaxing with friends and stitching the day away, this project is the perfect companion.

Materials
➤ Yarn: #4 / Worsted Weight NOTE: Cotton is recommended for strength & less stretch.
➤ Yardage: 100 - 130 yds
➤ Hook: 5.0 mm
➤ Other: Button (size to fit between 2 DC sts)
Stitches & Abbreviations
US Terminology
➤ * * = Repeat stitch pattern between * *
➤ Ch# = Chain number of times specified
➤ St/Sts = Stitch/Stitches
➤ SS = Slip Stitch
➤ SK# = Skip number of sts specified
➤ SC = Single Crochet ➤ HDC = Half Double Crochet
➤ DC = Double Crochet
➤ TLO = Third Loop Only of HDC (Moogly Tutorial) (3rd loop is sometimes referred to as ‘back bump’ or ‘back bar’)
Notes & Special Instructions
➤ Chains at beginning of a round/row NEVER count as a stitch.
➤ When the pattern says “Pull yarn loop at join to back of work”: Remove hook from yarn, at join insert hook from back to front, grab yarn loop & pull through stitch. This will help give it a more finished look. If you do not like the look of this, just continue as normal. ➤ For help working into the back side of chain, here is a Featherby & Friends video tutorial NOTE: In this pattern you will be working DC (instead of SC as shown in the video) into the chain and the corners will be worked differently. See pattern for further instructions. ➤ First DC Options: In this pattern, the 1st DC st in rows/rounds will always be noted as a regular DC. There will be NO Chain instructions on rows/rounds beginning with a DC. Use your preferred method for 1st DC stitch of these rows/rounds.
1 - Chainless Starting DC: This is the technique I prefer to use. I also use this technique for 1st FPDC/BPDC of rows/rounds. Moogly Video Tutorial for Chainless Beginning DC stitch
2 - Stacked SC: Stacking 2 SC will result in a similar look to a DC st without added bulk of a Ch2. Brianna K Video Tutorial for Stacked SC
3 - Ch3: Use this as 1st DC of row/round.
4 - Ch2: This will get your sts to height of a DC & then place a regular DC in 1st st of row/round.
RIDGED CAMP CHAIR BUDDY PATTERN
Section 1: DRINK POUCH Pattern
NOTES: | This section is worked bottom to top. At end of each ROUND: SS to join to 1st st of rnd & do NOT turn. RIGHT/FRONT (RIDGES) side of piece will be facing you at all times in this section. On TLO-DC/SC rnds, work into TLO of HDC from previous round. The 3rd loop will be on backside of work At beginning of rnd, pull yarn loop at join to back of work for cleaner look. REMINDER: Pattern is written using chainless beginning DC. Use your preferred method for 1st DC. |
Start | Magic Circle OR Ch4 & SS to join circle OR Ch3 & work Rnd 1 into 1st Ch made |
Rnd 1: | NOTE: There is NO st count requirements, so you can adjust starting st count as needed to reach desired size. 16 DC in circle. (16) Cinch circle closed. TIP: On back/inside, secure tail with a SS around 1 or 2 sts & then crochet over beginning tail as you work each rnd to hide your end. |
Rnd 2: | NOTE: When finished with this rnd, circle should measure approximately 2.5” across center. 2 DC in 1st & each st around. (32) |
Rnd 3: | NOTE: End of rnd st count will remain same (32) throughout remainder of this section. To keep seam more straight on HDC rnds: Ch2 & skip 1st/join st. At end of rnd place last HDC over Ch2 in skipped (1st/join) st. Use this method throughout on HDC rnds in this section. Ch2, SK1 (join st), 1 HDC in 1st & each st around. |
Rnd 4: | 1 TLO-DC in each st around. |
Rnd 5: | Ch2, SK1 (join st), 1 HDC in 1st & each st around. |
Rnds 6-*15: | NOTE: Average can/bottle height: 12 oz soda can = 4.83” 16 oz water bottle = 8” Repeat Rnds 4 - 5 (*4 more times OR as many times as needed for DRINK POUCH to reach desired height). |
Final Rnd 1: | Ch1, 1 TLO-SC in each st around. |
Final Rnd 2: | Ch1, 1 SC in each st around. Do NOT fasten off. Proceed to SECTION 2: CHAIR STRAP Pattern. |
Section 2: CHAIR STRAP Pattern
NOTES: | TURN at end of each ROW. EVEN rows = RIGHT/FRONT side of piece will be facing you. End of row st count will remain same throughout section. (12) REMINDER: Pattern is written using a chainless beginning DC. Use your preferred method for 1st DC. |
Row 1: | NOTE: If you adjusted size, work an EVEN number of sts ending about ⅓ of way around. 1 DC each of first 12 sts. TURN |
Rows 2-20: | NOTE: Strap should be long enough (~6-10”) to reach across arm of camp chair with enough space hanging down to add button to secure both sides. Repeat this rnd *as many times as needed for STRAP to reach across 1 DC in each st across. TURN MUST end at end of EVEN row count. After final repeat, do NOT fasten off. Proceed to SECTION 3: PHONE POUCH Pattern. |
Section 3: PHONE POUCH Pattern
NOTES: | This section is worked top to bottom. At end of each ROUND: SS to join to 1st st of rnd & do NOT turn. RIGHT/FRONT (RIDGES) side of piece will be facing you at all times. End of rnd st count will remain same throughout section. (34) On TLO-DC/SC rnds, work into TLO of HDC from previous round. The 3rd loop will be on backside of work At beginning of rnd, pull yarn loop at join to back of work for cleaner look. REMINDER: Pattern is written using chainless beginning DC. Use your preferred method for 1st DC. |
Rnd 1: | NOTE: Must end with an EVEN number of sts. Adjust chain amount as needed to reach desired size to hold PHONE (or other items). When joining Ch22, make sure chain is NOT twisted & chain section is on SAME side of STRAP as DRINK HOLDER. TIP: Before joining, lay piece out flat (with DRINK POUCH facing up (so you could put something in it). Make sure your chain is straight & then join it. ALTERNATIVE: If you have problems getting chain to lay right when joined, on Rnd 2 you can work SC sts AROUND chain (instead of into each ch st). Ch 1, 1 SC in each st across, Ch22, SS join to 1st SC of rnd. |
Rnd 2: | Ch1, 1 SC in each st & back bumps of chain around. |
Rnd 3: | Ch 1, 1 HDC in each st around. |
Rnd 4: | 1 TLO-DC in each st around. |
Rnd 5: | NOTE: To keep seam more straight on HDC rnds: Ch2 & skip 1st/join st. At end of rnd place last HDC over Ch2 in skipped (1st/join) st. Use this method throughout on HDC rnds in this section. Ch2, SK1 (join st), 1 HDC in 1st & each st around. |
Rnd 6: | 1 TLO-DC in each st around. |
Rnd 7: | Ch2, SK1 (join st), 1 HDC in 1st & each st around. |
Rnds 8-*15: | Repeat Rnds 6 - 7 (*4 more times OR as many times as needed for PHONE POUCH to reach ~4 - 5”H or desired height). |
Final Rnd 1: | Ch1, 1 TLO-SC in each st around. |
Seam: | Cut yarn leaving tail about 3’ long to use for seaming. Turn PHONE Pouch inside out. Fold pouch flat with CHAIR STRAP centered on 1 side. Ch1, SC through BOTH loops on BOTH sides. Fasten off & weave in ends. Turn pouch rightside out. |
Option: Secure Camp Chair Buddy
Sew button on inner side of chair strap & use any DC row on opposite side to secure in place.
Position of button will depend on length of STRAP section & width of camp chair arm.
I hope you enjoy this Global Crochet Collaboration Free Pattern!


Comments